- Most holiday hams are already cooked. You're reheating, so aim for 140°F in the center, then let it rest 15 to 20 minutes.
- Know which ham you've got. Spiral-cut, bone-in and boneless each carve differently, and the method below covers all three.
- Spiral-cut: stand it on its flat face and cut along the bone to release the slices. They're already cut for you.
- Bone-in: cut a flat base first so it can't roll, slice down to the bone, then run the knife along the bone to free the slices.
- Use a big, heavy board with a juice groove. Glaze is sticky and it will run, so wipe the board while it's still warm.
Ham has a reputation for being the easy holiday roast, and the cooking part mostly is. Somebody else did the hard work, and you're just warming it through and brushing on a glaze. Then it comes out of the oven, and you're standing over a glossy, slippery, ten-pound thing with a bone running through it somewhere you can't see. That's where it goes sideways.
The good news: carving a ham is easier than carving a turkey once you know where the bone is. Here's how to do it for every kind of ham you're likely to bring home, plus the board setup that keeps the glaze off your counter.
First, check what kind of ham you have
Look at the label before you do anything else. Two things matter: whether it's already cooked, and whether there's a bone in it.
Most hams sold for the holidays say "fully cooked" or "ready to eat." The USDA says to reheat those to 140°F in the thickest part (165°F if it was repackaged somewhere other than the original plant, or if it's leftovers). If yours says "cook before eating," it's a different job: it needs to reach 145°F and then rest for at least three minutes. Either way, use a thermometer, not the clock.
Then figure out the cut. It decides how you carve.
| Ham | What it looks like | How hard to carve |
|---|---|---|
| Spiral-cut | Bone-in, already sliced in one long spiral around the bone | Easiest. You're just releasing slices |
| Bone-in, shank end | Tapered, cone shape with one straight leg bone | Easy once it's sitting flat |
| Bone-in, butt end | Rounder and meatier, with a curved hip bone inside | The trickiest. Carve around the bone in sections |
| Boneless | A smooth, even log or oval | Slice it like a loaf |
Let it rest, then set up the board
Give the ham 15 to 20 minutes out of the oven, loosely tented with foil. It's not as dramatic as resting a turkey, but the juices settle and the glaze firms up a little, which makes it much less slippery to hold.
Use that time to get the board ready. We went through the full setup in how to carve a turkey, and it's the same here: a damp towel flat under the board so it can't slide, and enough room for the ham, a pile of slices and your fork hand.
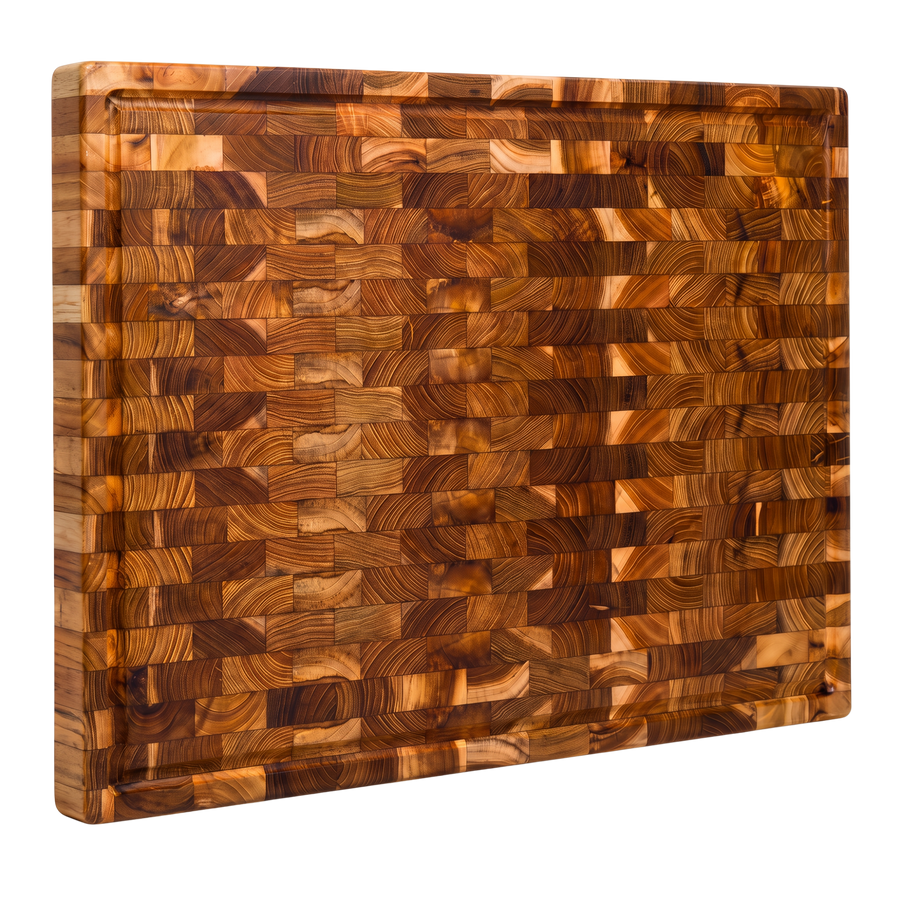
- A whole bone-in ham can weigh 15 pounds or more. That's an X-Large board job. The Block in X-Large is 23.6 by 15.7 inches and 1.6 inches of solid teak, so it stays put while you lean on it.
- A half ham or a spiral-cut (usually 7 to 10 pounds) fits comfortably on the Large, which is 17.7 by 11.8 inches. Not sure which works for your kitchen? Our cutting board size guide walks through it.
- A juice groove matters more with ham than you'd think. It's not just the meat juice, it's the glaze. Brown sugar, honey and maple all melt and run, and a groove keeps that sticky stream on the board.

For the knife, you want something long and sharp: a carving knife or a long slicing knife, plus a carving fork. A shorter boning knife helps if you're dealing with the butt end.
How to carve a spiral-cut ham
This is the one most people bring home, and the trick is that the slicing's already done. Your job is just to get the slices off the bone.
- Lay the ham on its flat, cut face, so it's sitting on the board like a dome.
- Find the bone running through the middle. Run your knife around it, close to the bone, cutting through the spiral.
- Now make a few cuts along the natural seams (the lines between the muscle sections), from the outside in to the bone. The slices will fall away in big sections.
- Lay each section down and separate the slices, or leave them in sections and fan them out on the platter.
Spiral hams dry out fast because every slice is already exposed. Heat it covered, cut side down, and only take off as many slices as you're serving right now. Keep the rest on the bone and wrapped.
How to carve a bone-in ham
The one rule: give it a flat base before you start. A round ham on a hard board will roll, and that's how people cut themselves.
- Make it stable. Lay the ham on its side. Cut two or three slices off the thinner side, parallel to the bone, to create a flat surface. Then turn the ham over onto that flat side.
- Slice down to the bone. Starting at the shank end (the narrow end), make straight, even cuts down through the meat until your knife hits the bone. A quarter inch thick is about right.
- Release the slices. Run your knife flat along the top of the bone, under all those cuts, and the slices come free in one pass.
- Turn and repeat. Once that side is done, turn the ham and work on the other side the same way.
If you've got a butt-end ham, the curved hip bone makes neat slices tricky. Don't fight it. Cut the meat off the bone in big chunks, following the bone with your knife, then lay each chunk flat on the board and slice it across the grain. Nobody at the table will know the difference.
How to carve a boneless ham
Easy. Set it on the board flat side down and slice straight across, a quarter to half an inch thick. If it's tied, cut the string off as you go so the slices hold together.
"Find the bone first. Once you know where it is, the rest is just slicing."
Serving it
A big end-grain board can go straight to the table with the ham on it, and it looks great. Keep the bone on there if you're feeding a crowd, so people can see there's more.

If you'd rather plate it in the kitchen, the Carve Plates each have their own juice groove and a separate zone for sides, so the pineapple glaze doesn't end up in the mashed potatoes. If you want one board for carving and two plates for serving, The Carve & Block pairs the Large board with a set.
Cleanup, the bone and the leftovers
Get the leftovers into the fridge within two hours. Sliced ham keeps three to four days, and it freezes well if you wrap it tight. Don't throw out the bone: it makes the best split pea soup or a pot of beans you'll ever have.
Then the board, and do it sooner rather than later. Sugary glaze gets harder to shift the longer it sits. Scrape it, wash it by hand with hot water and a little dish soap, and never soak it or put it in the dishwasher. Towel it dry and stand it on its edge so both faces dry evenly. The Solo Stand takes boards up to 2.4 inches thick, so it holds the X-Large too. After a big holiday cook, a coat of oil once the wood is fully dry keeps it looking right. Our teak cutting board care guide has the routine.
That's it. Check the label, reheat to 140°F, rest it, find the bone, then slice. Whether you're hosting Thanksgiving, Christmas or Easter, it's the same ham and the same ten minutes.